Refreshing your living space with animated digital art no longer means settling for impersonal displays or static images. For discerning homeowners who value both innovation and artistic excellence, the process begins long before your artwork appears on your wall. By focusing on preparing digital assets, choosing the right software, and leveraging advanced generative models that transform static art into dynamic animations, you infuse your environment with living works tailored to your taste and home’s atmosphere.
Table of Contents
- Step 1: Prepare Your Digital Art For Animation
- Step 2: Select And Configure Animation Tools
- Step 3: Transform Static Images Using AI Features
- Step 4: Customize Animated Effects For Your Space
- Step 5: Test And Refine Interactive Animations
Quick Overview
| Key Insight | Explanation |
|---|---|
| 1. Prepare digital art carefully | Ensure resolution, file format, and layers are optimized for animation to avoid complications later. |
| 2. Choose suitable animation software | Select tools that fit your experience level and animation type for an efficient workflow. |
| 3. Utilize AI for animation | Leverage AI features to simplify the animation process, ensuring natural movements with minimal manual effort. |
| 4. Contextualize within your space | Preview and customize animations according to your room’s decor and lighting for optimal harmony. |
| 5. Test and refine animations thoroughly | Conduct comprehensive testing to identify issues and improve performance, enhancing viewer experience. |
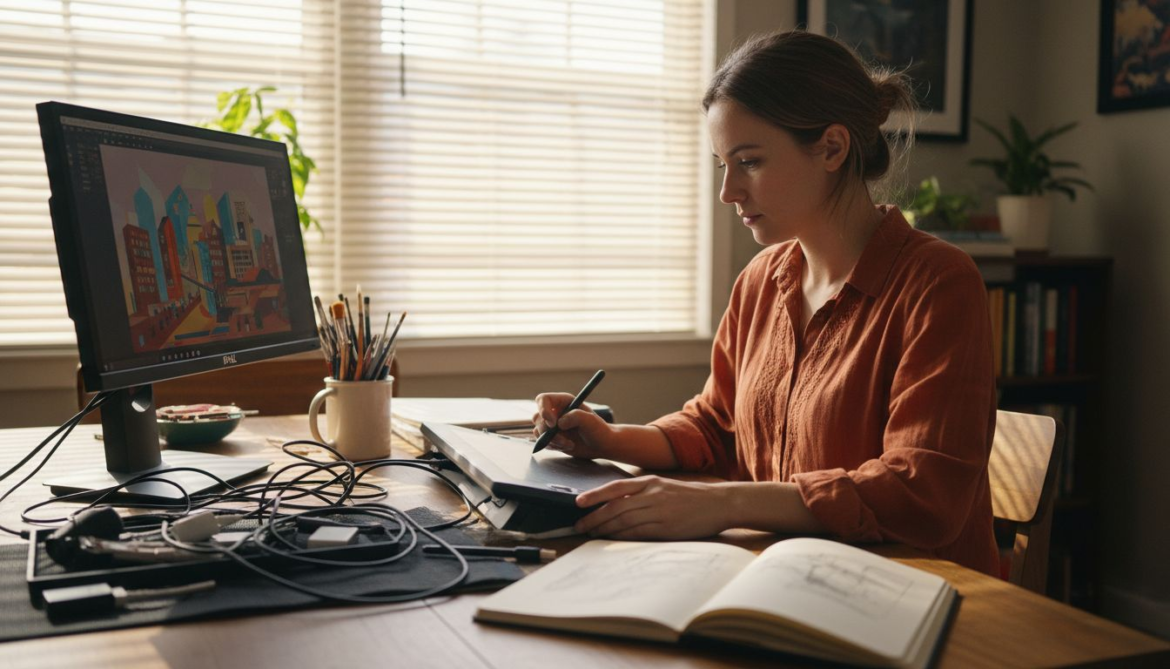
Step 1: Prepare your digital art for animation
Before your static images transform into captivating animations, you need to lay the proper groundwork. Preparing your digital art correctly makes the difference between smooth, professional animations and disjointed, frustrating results. Think of this step as preparing a canvas before painting instead of trying to fix problems after the fact.
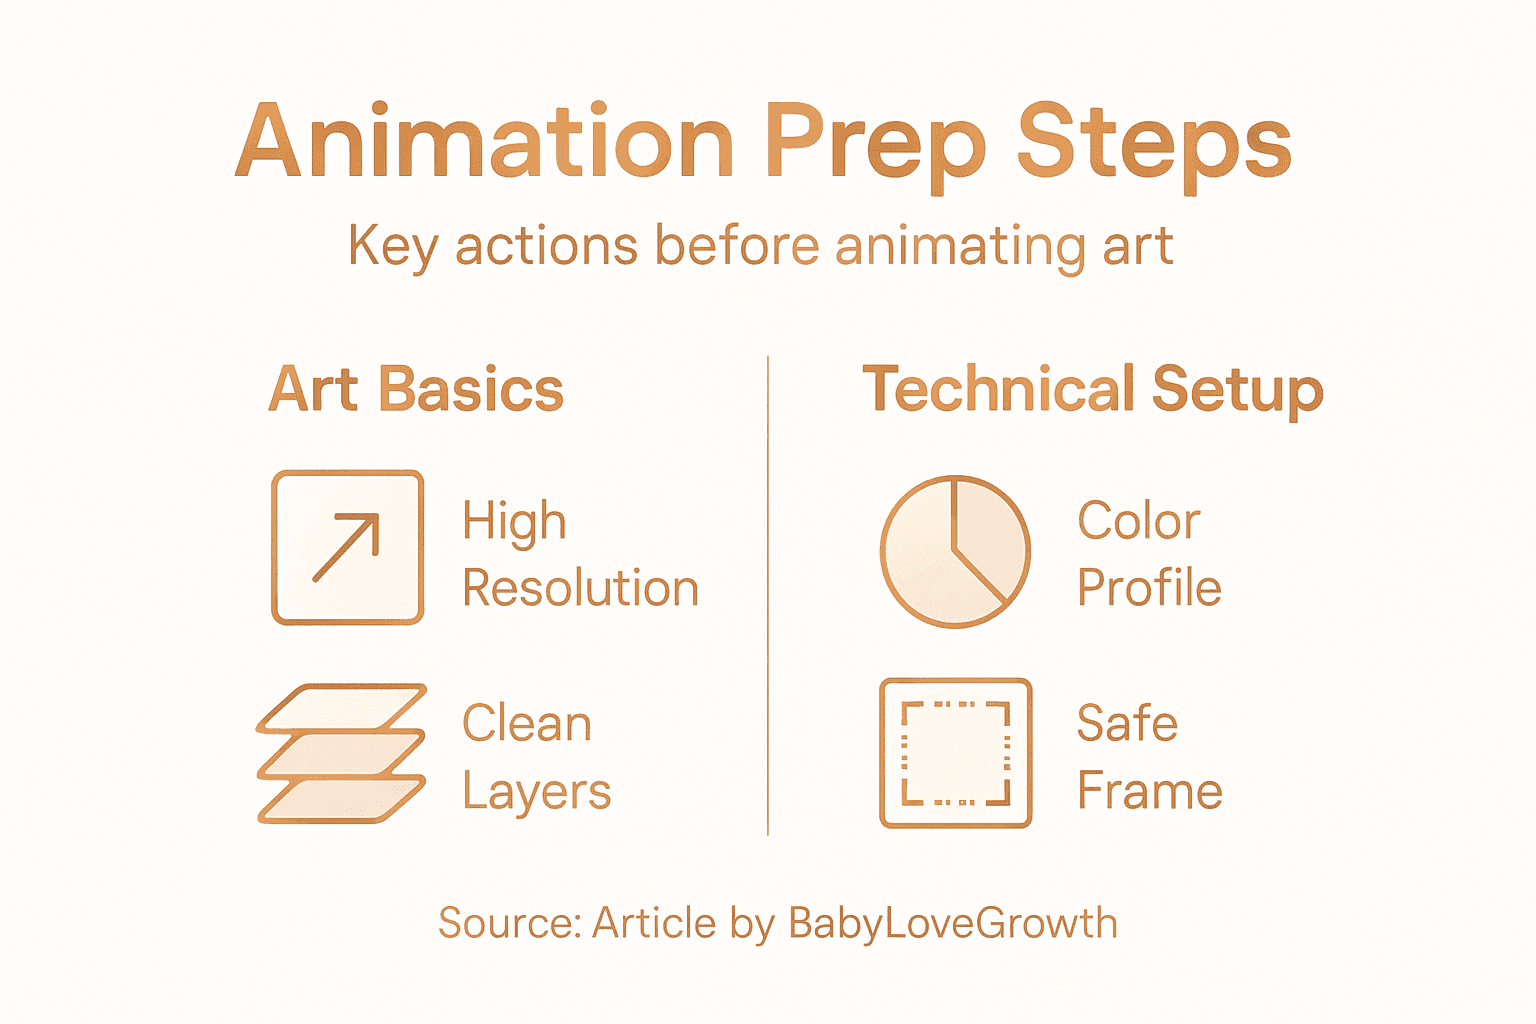
Start by examining your artwork’s technical specifications. Your image resolution should be at least 1080p for high-quality home decor displays, though higher resolutions (2K or 4K) work better if your frame supports them. Check that your file format is compatible with animation software and the platform you’re using. PNG files with transparency work particularly well because they allow animations to layer properly without unwanted backgrounds interfering. If your artwork includes multiple layers, keep them organized and clearly labeled. This matters more than you might think because poorly organized files become nightmares when you’re trying to isolate specific elements for animation.
Next, assess what parts of your image will animate. Not everything needs to move. A portrait might have subtle breathing motion in the chest, a gentle sway in hair, or a soft glow effect. A landscape could feature flowing water, rustling leaves, or drifting clouds. Understanding how to structure digital art assets for animation means identifying which elements serve the narrative and which should remain static. This requires applying artistic principles like color theory, perspective, and movement to your composition before the animation even begins. Consider the emotional tone you want to convey. Do you want calming, subtle motion or something more dynamic and eye-catching?
Color consistency is another detail affluent collectors often overlook. Ensure your color profiles are set correctly (typically sRGB for digital displays) and that colors appear consistent across different lighting conditions. Inconsistent colors can make animations look jarring or poorly executed, even if the motion itself is flawless. If your image has fine details, slightly increase contrast during the preparation phase. Animation can sometimes soften details, so building in a touch more definition upfront compensates for this naturally.
Also think about composition and frame-safe areas. Elements close to the edges might get cropped on certain display frames, so position your most important content toward the center. Leave breathing room around focal points. This becomes especially critical when your animation includes movement, since moving elements need space to move into without hitting invisible boundaries.
Lastly, export clean copies of your artwork. Create a high-quality master file and separate working versions. Save these in formats that your animation tool accepts. Some software requires specific color modes (RGB versus CMYK) or layer structures, so check your animation platform’s requirements beforehand.
Professional tip: Create a checklist documenting your artwork’s specifications (resolution, color profile, dimensions, file format) before you start the animation process, saving yourself troubleshooting time and ensuring consistent results across multiple pieces.
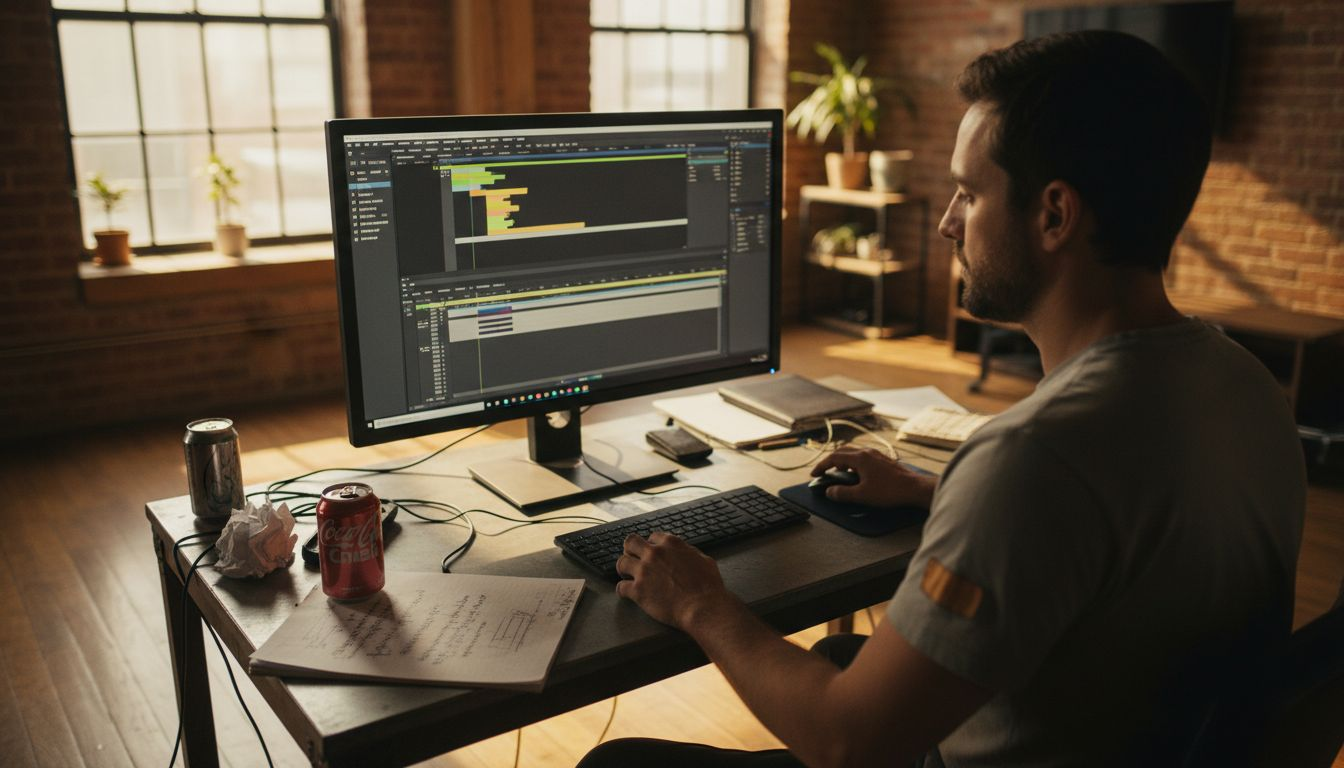
Step 2: Select and configure animation tools
Choosing the right animation software sets the tone for your entire creative process. The wrong tool can frustrate you with steep learning curves or missing features, while the right one accelerates your workflow and delivers professional results. Your selection depends on your specific needs, technical comfort level, and the type of animations you want to create for your personalized home decor.
Start by understanding what you’re animating. Are you working with 2D artwork like illustrations and photographs, or 3D elements like models and objects? For 2D animations of personal photos and digital paintings, you’ll want software that excels at frame-by-frame animation and keyframe manipulation. Tools like Pencil2D and Synfig Studio offer robust vector animation capabilities without requiring expensive licenses, making them ideal for homeowners experimenting with animation for the first time. If you’re more ambitious and want to explore 3D possibilities, Blender provides comprehensive 2D and 3D animation tools in one open-source package. For those willing to invest in professional-grade software, Autodesk Maya and Toon Boom Harmony offer advanced features, though they come with steeper price tags and learning requirements.
Here’s how popular animation software compares for different user needs:
| Software | Target User Level | Key Strength | Licensing Model |
|---|---|---|---|
| Pencil2D | Beginner | Simple vector tools | Free, open source |
| Synfig Studio | Intermediate | Advanced keyframes | Free, open source |
| Blender | All levels | 2D & 3D animation | Free, open source |
| Toon Boom Harmony | Professional | Feature-rich pipeline | Paid, subscription |
| Autodesk Maya | Advanced/Pro | Industry standard 3D | Paid, subscription |
Once you’ve selected your software, configuration is where many people stumble. Start by setting up your workspace to match your workflow. Create custom templates that include your preferred layouts, toolbars, and keyboard shortcuts. If you’re animating portrait photography with subtle motion, configure your timeline to work with longer frame durations. Enable keyframe animation features first, as these are fundamental to controlling motion. Next, explore plugin support specific to your software. Many animation tools allow plugins that extend functionality, whether that’s AI-assisted features for smoother motion or rendering accelerators that save hours of processing time. Configure your real-time rendering capabilities if your software offers them, since seeing your animations play back in real time prevents nasty surprises when you reach the final output stage.
Color management deserves attention during setup too. Match your software’s color profile to the sRGB settings you established earlier when preparing your artwork. This prevents color shifts between your creative workspace and the actual frame display. Set up your export parameters before starting the animation process. Know exactly what resolution, frame rate, and file format you’ll need, and save these as presets. A common mistake is animating for weeks only to discover your output settings are incorrect for your display frame.
Take time to familiarize yourself with keyboard shortcuts and workflow optimization. Animation is repetitive, and efficient navigation through your timeline and tool palettes saves tremendous energy over multi-hour animation sessions. Watch a few workflow tutorials specific to your chosen software. Most creators spend 20% of their time animating and 80% managing their workspace, so optimizing this early pays dividends.
Professional tip: Start with a simple test animation using one element from your prepared artwork to verify your software settings, export quality, and file compatibility with your display frame before committing to your complete animation project.
Step 3: Transform static images using AI features
This is where the magic happens. Your carefully prepared artwork is about to become a living, breathing animation powered by advanced artificial intelligence. The transformation from static to dynamic doesn’t require you to manually draw dozens of frames or understand complex motion physics. Modern AI does the heavy lifting while you maintain creative control.
Start by uploading your prepared image into your chosen animation software or AI platform. The AI will analyze your image to understand its composition, colors, textures, and subject matter. Advanced generative models now use diffusion architectures to synthesize temporal sequences, meaning the AI interprets what’s happening in your image and predicts how elements should move naturally over time. When you upload a photo of your child, the AI recognizes facial features and can generate subtle expressions. For a landscape, it understands water, vegetation, and sky, creating realistic motion that respects the original context without looking artificial.
Next, configure your animation parameters. Most AI tools let you control motion intensity, animation duration, and the types of movement you want. A portrait might have gentle breathing motion with a soft head tilt, while a landscape could feature flowing water and swaying grass. You’ll typically adjust parameters like motion speed (slow and meditative versus dynamic and energetic), motion type (global movement affecting the entire image versus local changes in specific regions), and temporal intensity (how much change happens between frames). The beauty of AI-powered animation is that you don’t need to specify every movement manually. The system interprets your preferences and generates natural-looking sequences that maintain cinematic quality throughout.
One powerful aspect of modern AI animation tools is their ability to handle independent element motion. Different parts of your image animate at different rates and in different directions, creating depth and sophistication. A portrait’s hair might sway while the face remains relatively still. A forest scene could have distant trees moving slowly while foreground elements shift more noticeably. This layered motion happens automatically when the AI interprets the spatial relationships in your image, producing animations that feel organic rather than obviously artificial.
As the AI processes your image, you’ll see real-time or near-real-time previews depending on your software. Watch these previews carefully. If the motion doesn’t feel right, adjust your parameters and regenerate. Perhaps the breathing motion is too pronounced, or the water flow moves too fast. Most platforms allow multiple iterations, so experiment freely. The AI learns from your feedback and generates refined versions. You might generate three or four variations of the same image before landing on the perfect animation that matches your vision.
Understand that AI animation maintains semantic coherence, meaning the AI preserves the meaning and integrity of your original image while adding motion. Your family portrait remains recognizable. Your landscape artwork stays true to your artistic vision. The AI enhances rather than transforms, creating animations that feel like natural extensions of your static artwork.
Professional tip: Generate multiple animation variations with different parameter settings for the same image, then compare them side by side on your actual display frame under your home’s lighting conditions before finalizing your choice, since motion appearance changes dramatically depending on viewing angle and ambient light.
Step 4: Customize animated effects for your space
Your animation exists in a vacuum until you contextualize it within your actual living space. This step bridges the gap between creating beautiful animations and displaying them in a way that complements your decor, lighting, and personal aesthetic. You’ll optimize the animation specifically for how your room looks, feels, and functions throughout the day.
Start by visualizing your animation in context. Modern technology allows you to preview animations within your actual space before committing to final placement. If your animation platform offers augmented reality preview capabilities, use them to see how your animated artwork will look on your chosen wall, in your selected frame, and under your home’s natural and artificial lighting. This matters far more than it seems. An animation that looks stunning on your computer monitor might appear dim, washed out, or overly saturated when displayed in your living room with afternoon sunlight streaming through windows. By previewing in context, you catch these issues before they become permanent fixtures in your home.
Next, adjust the animation’s visual properties to match your space’s aesthetic. Consider your room’s color palette. If you’re working in a modern minimalist bedroom with cool grays and whites, you might reduce color saturation in your animation to maintain visual harmony. In a warm, eclectic living room with rich textures and bold artwork, a more vibrant, saturated animation creates cohesion. Lighting customization is equally important. Some animations benefit from increased brightness in spaces with high ambient light, while others look better with subtle, dimmer motion in low-light environments. Many animation tools allow you to adjust brightness, contrast, and color temperature to align with your room’s existing lighting scheme. Additionally, consider how animation speed interacts with your space. A slowly moving, meditative animation in a bedroom creates a calming atmosphere, while a living room installation might feature more dynamic, engaging motion that invites conversation.
Camera pathways and animation staging also deserve attention. Customizing animated effects through keyframe animation enables you to control how the animation evolves, much like designing the visual journey your eye takes through the artwork. You can emphasize certain elements by making them move more prominently while keeping others subtle. Think about focal points in your animation and whether they align with your room’s visual hierarchy. If you have a landscape animation above your fireplace, ensure the most eye-catching motion occurs in areas that draw attention naturally. In an entryway, you might position dynamic elements to greet visitors as they enter.
Think about animation duration and looping behavior. Some spaces benefit from animations that repeat seamlessly every 10 seconds, while others work better with longer, more elaborate sequences that play every few minutes. Consider foot traffic patterns. A frequently viewed animation might benefit from shorter loops to prevent visual fatigue, while a piece in a quiet reading nook can sustain longer sequences. Also contemplate interaction with your space’s temporal rhythm. Morning light differs from evening light. Some homeowners prefer animations that subtly shift based on time of day, creating a sense of living, breathing decor that evolves with your home’s natural cycles.
This table highlights how animation parameters affect home displays:
| Parameter | Room Effect | Best Use Case |
|---|---|---|
| Brightness | Adapts to ambient light | Sunny living room |
| Saturation | Matches decor colors | Vibrant home studios |
| Motion Speed | Creates mood | Calm bedrooms vs. busy entryways |
| Loop Duration | Impacts impression | Short for high-traffic, long for relaxing spots |
Finally, test your customized animation in actual viewing conditions. Display it on your frame at normal viewing distances and angles. Walk around the room and observe how the animation appears from different perspectives. Check how it looks during daytime with natural light, during evening with artificial lighting, and in various room brightness conditions. Make adjustments as needed. Animation customization is iterative, and small tweaks transform good installations into exceptional ones that feel perfectly integrated into your personal space.
Professional tip: Create three animation versions of the same artwork with different brightness, saturation, and speed settings, then display each version for 24 hours in your intended location before deciding which version creates the best visual impact in your actual room’s lighting conditions.
Step 5: Test and refine interactive animations
Your animation is only complete when it performs flawlessly in real world conditions. Testing transforms a promising creation into a polished, reliable experience that responds intuitively to viewers and maintains visual quality throughout extended use. This step separates amateur animations from professionally executed installations.
Begin by establishing clear testing criteria. What should your animation accomplish? If you’re creating an interactive piece that responds to viewer gestures or expressions, test whether it consistently recognizes and reacts to those inputs. Does your animation respond smoothly when someone approaches the frame, or does it lag? If you’re showcasing emotion recognition features, verify that the system accurately interprets expressions in various lighting conditions and at different distances. Document your expectations upfront. You want to measure performance against actual requirements rather than vague notions of quality. Performance testing is equally critical. Verify that your animation runs smoothly without stuttering, frame drops, or unexpected pauses. Any animation displaying in your home continuously will be scrutinized heavily, so technical flaws become increasingly obvious over time.
Conduct systematic use case testing. This means simulating real world scenarios where people interact with your installation. Invite friends and family to spend time near the frame without instructions. Watch how they respond. Do they naturally understand the interaction? Does the animation engage them, or do they ignore it after initial curiosity fades? Iteratively testing interactive animations through user feedback ensures your creation meets actual user needs rather than theoretical ones. Pay attention to unintended behaviors. Perhaps your gesture recognition works perfectly when someone stands directly in front, but fails at angles. Maybe the animation’s color changes cause reflections that obscure the display. These real world discoveries inform refinement priorities. Document each issue and categorize by severity. Critical bugs that prevent core functionality demand immediate fixes. Minor visual inconsistencies might be acceptable for your particular space and aesthetic.
Refine based on your findings. If gesture recognition feels sluggish, you might adjust sensitivity settings or optimize processing parameters. If the animation appears too bright in morning light, recalibrate brightness levels. If users consistently misunderstand how to trigger interactions, redesign the visual feedback to provide clearer cues. Refinement is iterative and requires patience. You might test, adjust, and retest multiple times before achieving the desired result. This is normal and reflects professional development practice rather than inadequate initial planning.
Error handling deserves specific attention. What happens if your smart frame loses internet connection? Does your animation continue running smoothly, or does it freeze and require restart? Test network disruptions intentionally. Temporarily disable wireless connectivity and observe behavior. Verify that cached animations display without issues even if cloud processing becomes temporarily unavailable. Check thermal management too. If your frame generates heat during extended operation, ensure animations don’t intensify thermal load or trigger unexpected shutdowns during your home’s warmest hours.
Peer review adds valuable perspective. Show your refined animation to people who didn’t participate in initial testing. Their fresh eyes catch issues you’ve become blind to after extensive iteration. Ask specific questions. How does the animation feel? Does it evoke the emotion or aesthetic you intended? Would they want this permanently installed in their home? Does anything feel jarring or distracting?
Final acceptance testing happens when you display the animation in your actual installation location for extended periods. Live with your animation for a full week before committing to permanent setup. Watch it during different times of day, in various moods, after returning home, and during quiet moments. Does it hold your attention and enhance your space, or does it become wallpaper? Trust your instincts. If something feels off after this extended exposure, don’t ignore the feeling. Small refinements now prevent larger regrets later.
Professional tip: Create a written log documenting every interaction observation, technical issue, and refinement made during testing, then review this log before final deployment to ensure you haven’t missed critical problems and to understand exactly what changes produced your best results.
Bring Your Digital Art to Life with Fraimie
Creating stunning animations from your digital art can feel complex when dealing with preparation, configuring animation tools, and fine-tuning AI-driven effects. You want seamless, natural motion that fits your personal space perfectly without spending endless hours troubleshooting technical challenges. Fraimie solves these pain points by offering an innovative smart digital photo frame integrated with advanced generative AI that transforms your photos into beautifully animated home decor with minimal effort. Experience intuitive emotion recognition and interactive features that respond effortlessly to you and your guests.
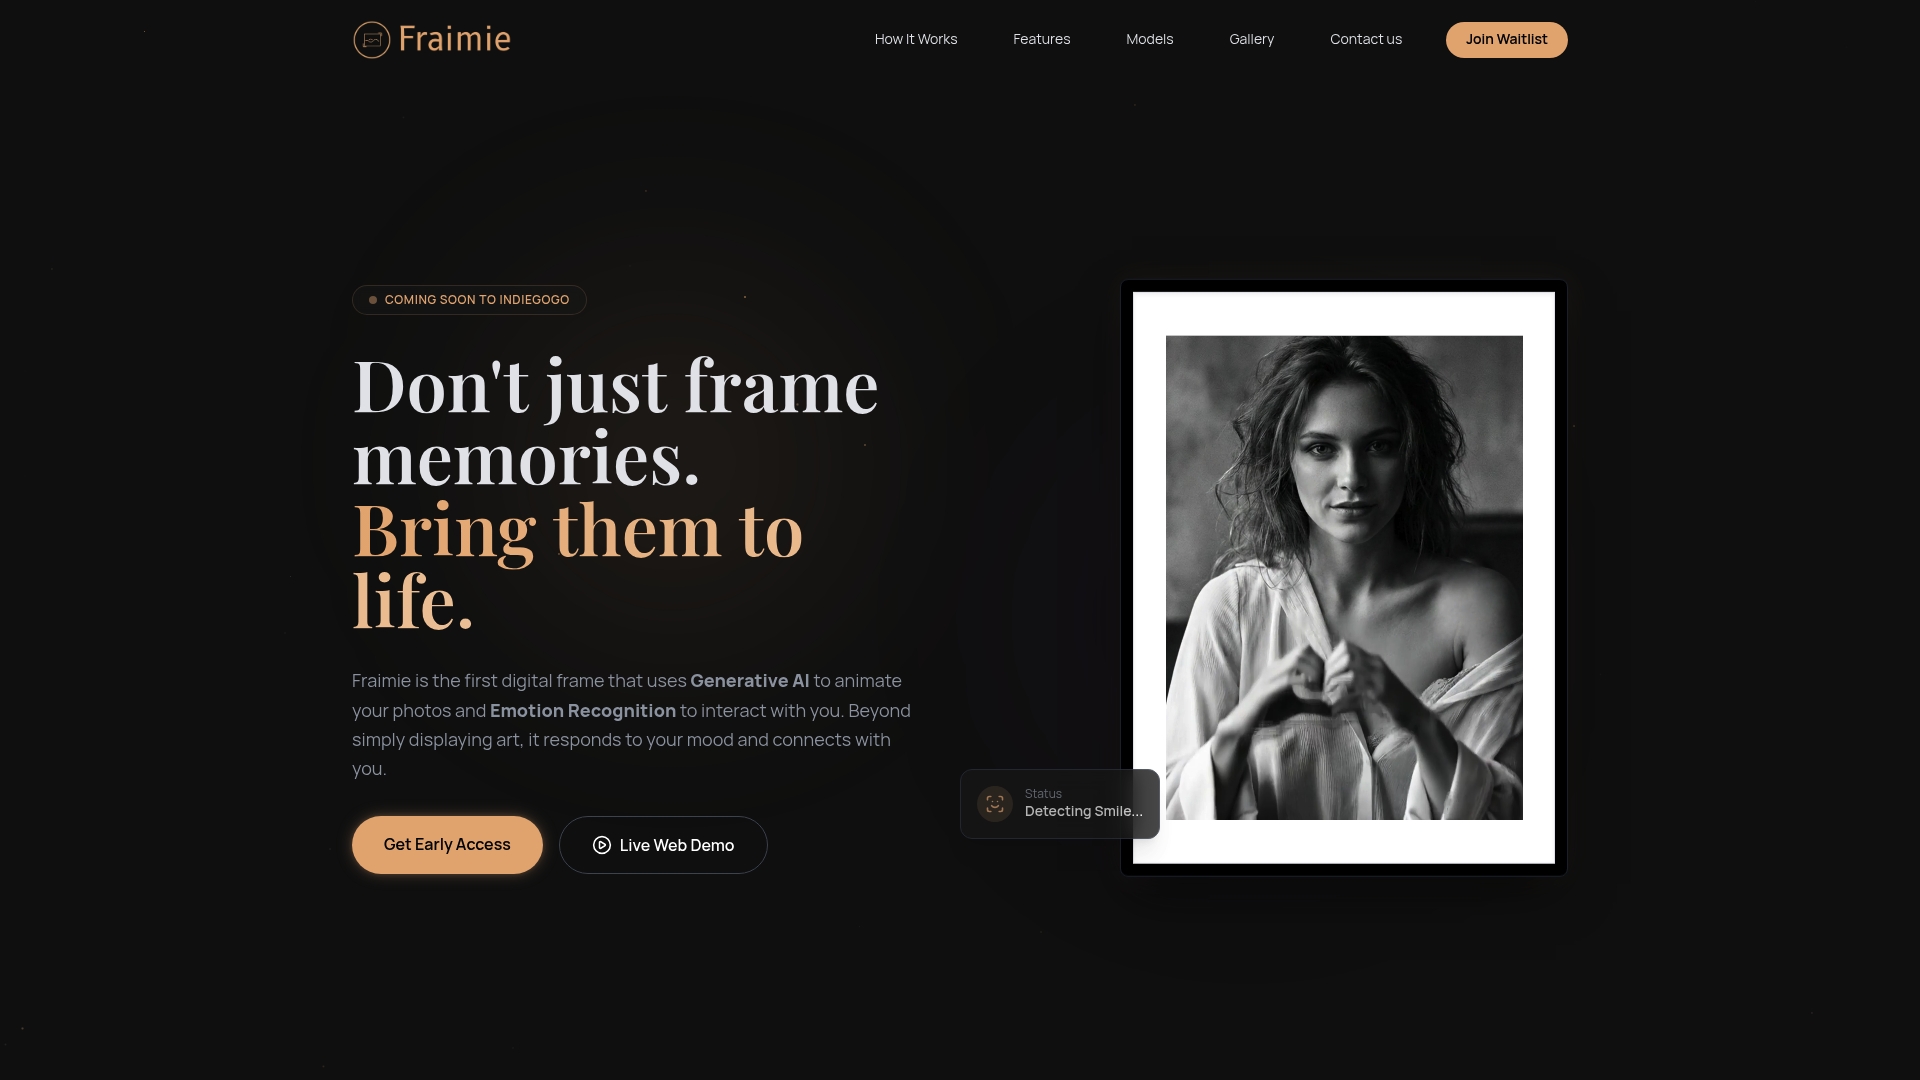
Discover how Fraimie can simplify the animation process described in this article. Upload your artwork to a platform built for easy customization, automatic color management, and real-time previews tailored to your room’s lighting and aesthetic. Take control of personalized interactive animations designed to enhance any living space from bedrooms to offices. Act now and join early adopters at Fraimie to transform your digital art into an engaging centerpiece that evolves with your mood and environment. Explore our offering and pre-order today to experience next-level personalized home decor at Fraimie. Learn more about how we revolutionize animated digital art for your home at Fraimie.
Frequently Asked Questions
How do I prepare my digital art for animation?
To prepare your digital art for animation, ensure your image resolution is at least 1080p and save it in a compatible file format like PNG. Organize layers and check color consistency to prevent issues during the animation process.
What should I consider when selecting animation software?
When choosing animation software, evaluate whether you’re working with 2D or 3D art and pick a tool that matches your skill level. Start by exploring free options for beginners, then progress to professional software if needed to achieve your desired effects.
How can AI features enhance my animation process?
AI features can transform your static images into animations by automatically generating subtle movements based on your specifications. Begin by uploading your artwork to the software, and then configure parameters to control motion intensity and duration for a natural-looking result.
What is the best way to customize animated effects for my home decor?
To customize animated effects for your home decor, visualize the animation in context using augmented reality or a similar feature. Adjust visual properties like brightness and saturation to harmonize with your room’s aesthetic, ensuring the animation complements rather than clashes with your decor.
How do I test and refine my interactive animations?
Test your interactive animations by simulating real-world interactions to see how viewers respond. Document observations and refine based on feedback, making necessary adjustments before final installation to ensure a seamless experience.
How can I maintain the quality of my animation over time?
To maintain animation quality, regularly check performance by observing how the animation behaves in different lighting conditions and at various distances. Make iterative refinements based on your observations to ensure that it continues to engage viewers effectively.
Leave a Reply